ZMIN Barcode Printer Driver Installation Guide - Kylin
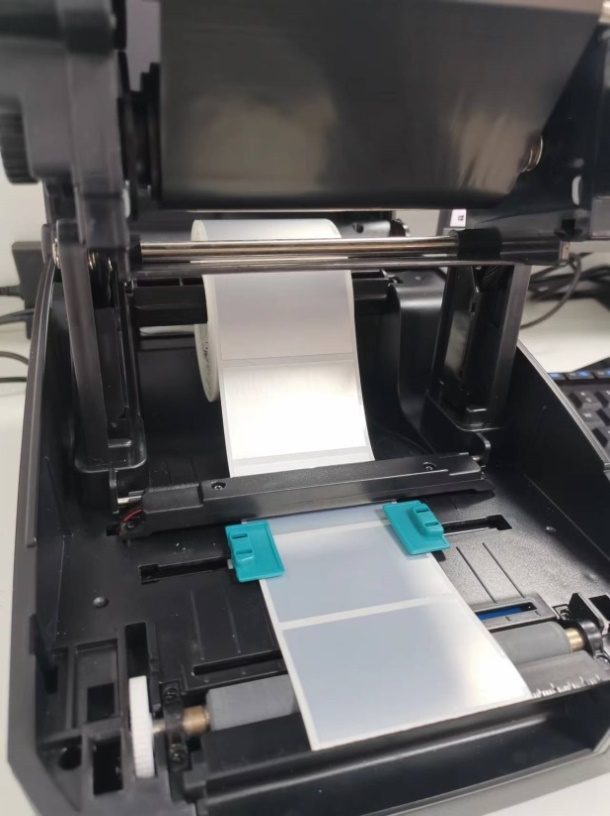
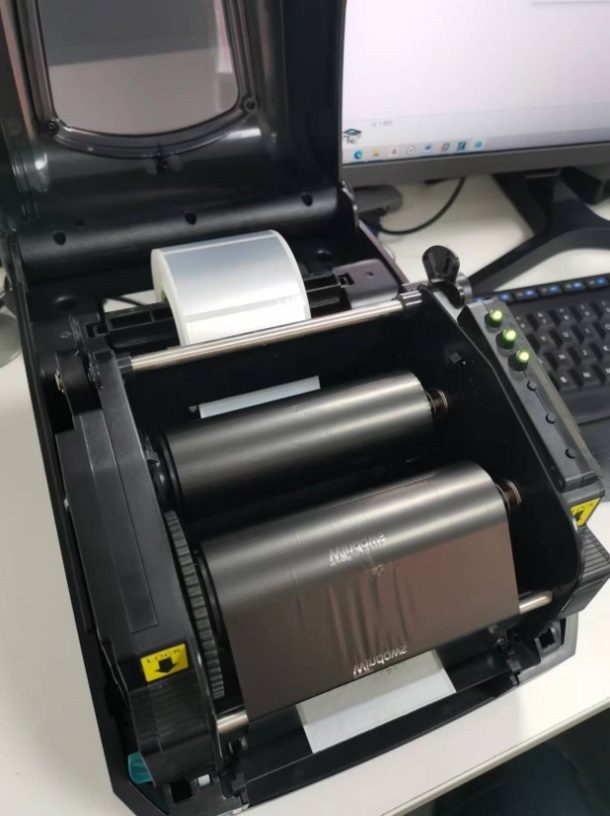
Step 1: Connect the printer to the computer via a USB cable, and install the labels and ribbon.
Step 2: Perform a paper calibration on the printer.
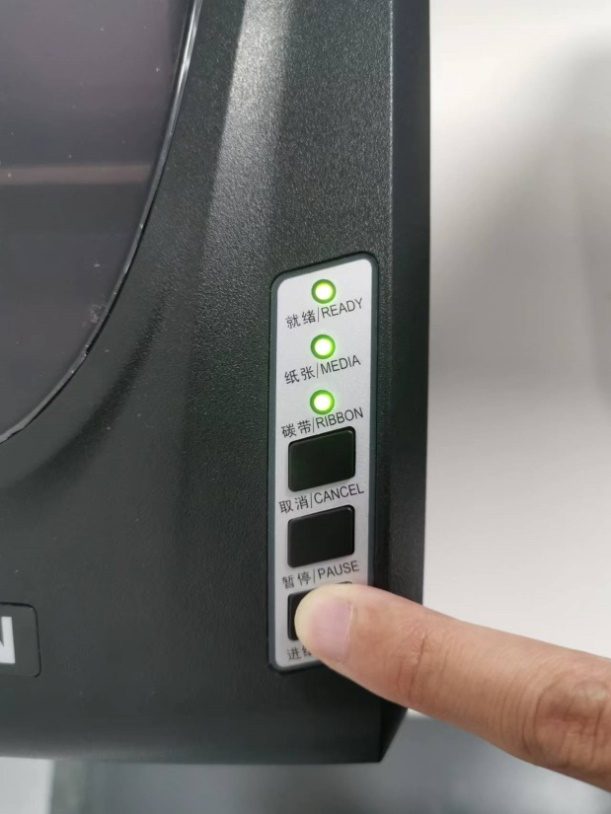
Press and hold the "Feed" button until the 3 indicator lights flash together and paper is fed out; release the button after 2 seconds to complete calibration.
If the printer's indicator lights flash after paper feeding stops, the ribbon or labels may be installed incorrectly.
Ribbon error: the "Ready" and "Ribbon" indicator lights flash simultaneously; check the ribbon installation (refer to the installation video);
Label error: the "Ready" and "Paper" indicator lights flash simultaneously; check the label paper installation (refer to the figure above or the installation video).
Press and hold for about 6 seconds; when the 3 indicator lights flash and paper is fed out, release after 2 seconds.
Step 3: Install the printer driver
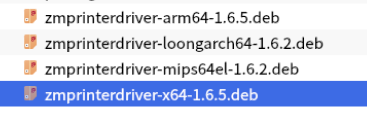
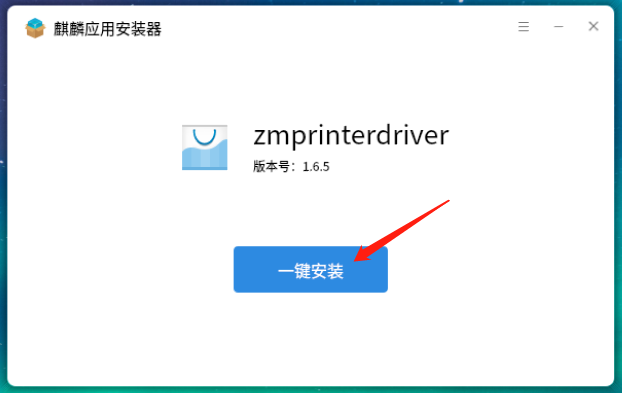
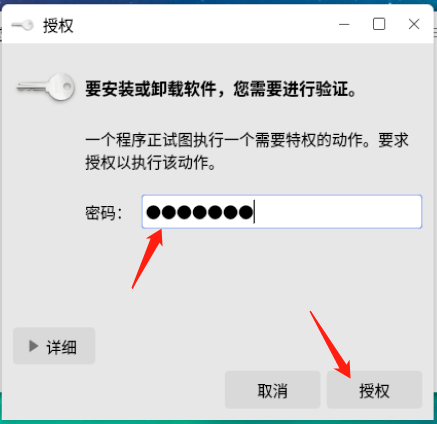
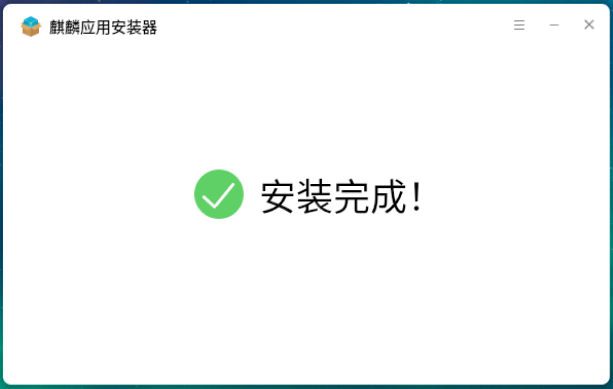
(1) Select the driver package corresponding to the system architecture, double-click it and follow the prompts to complete installation.
If the deb package cannot be installed by double-clicking, open Terminal and enter the installation command: sudo dpkg -i *.deb, then press Enter.
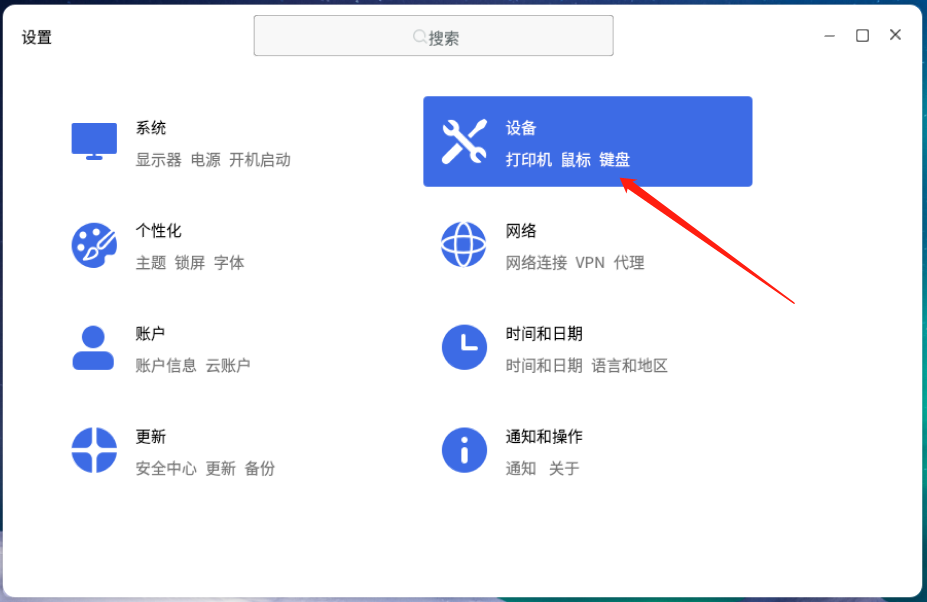
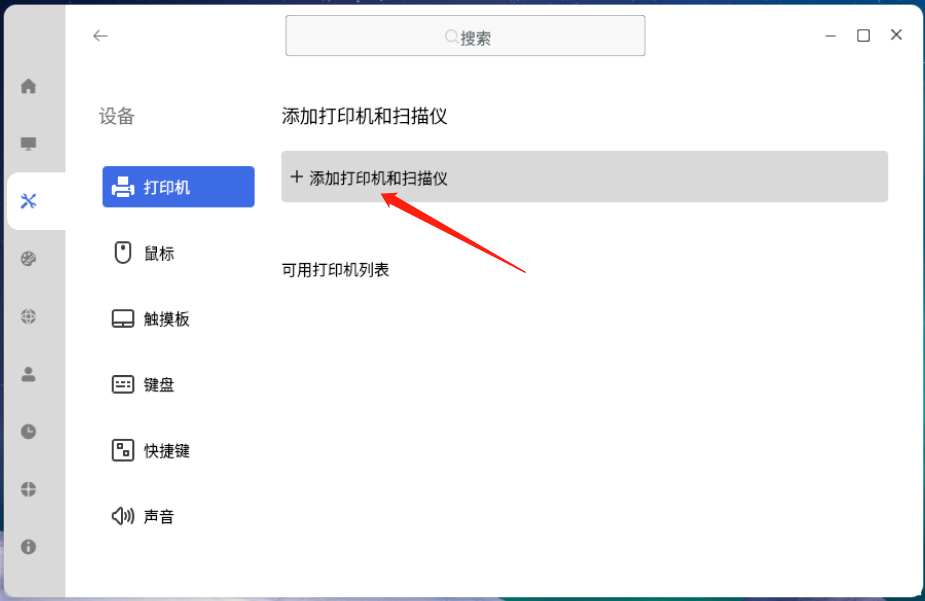
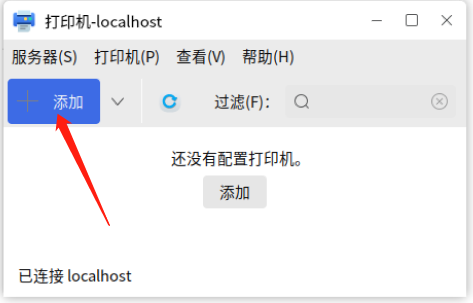
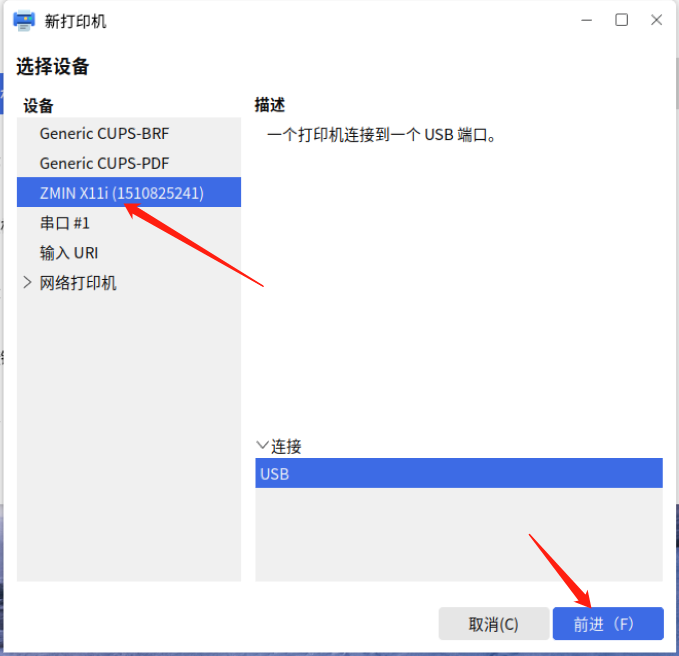
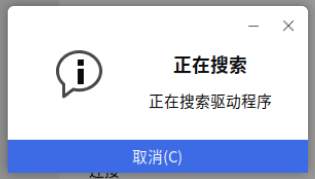
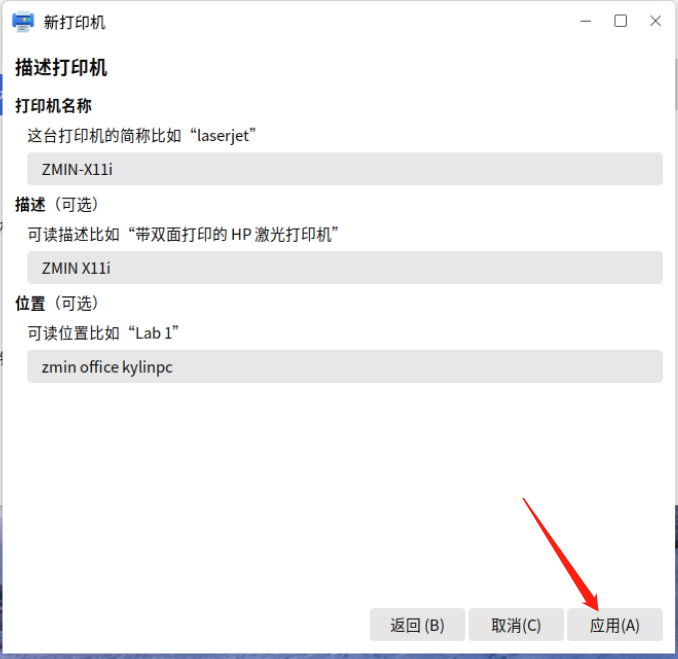
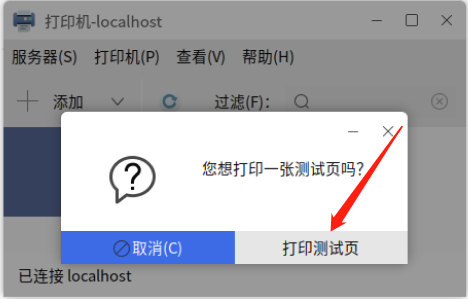
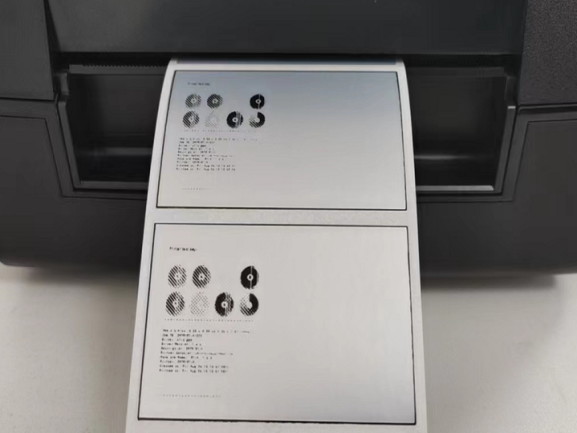
(2) Turn on the printer power; the system will automatically install the driver. If it is not installed automatically, add the printer manually.
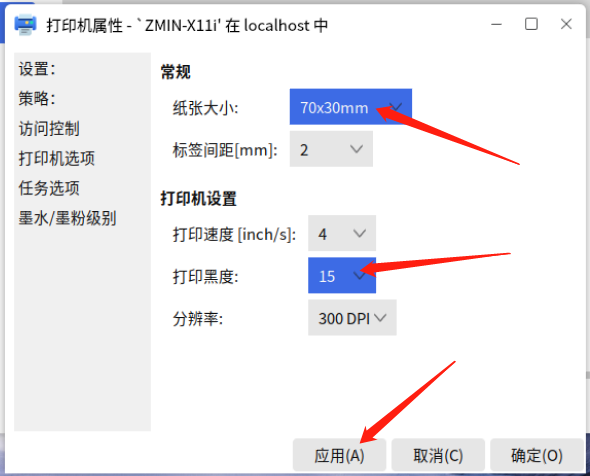
(3) Set the label page and print darkness
Open the printer properties, select "Printer Options"; on the right side you can set parameters such as paper size and print darkness.
White coated paper labels generally use a print darkness of 8~10; silver matte paper labels generally use a print darkness of 14~16.
End of this document.