ZMIN Barcode Printer Automatic Peeler Installation and Usage Instructions
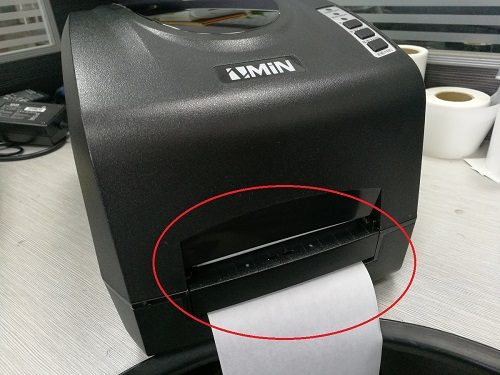
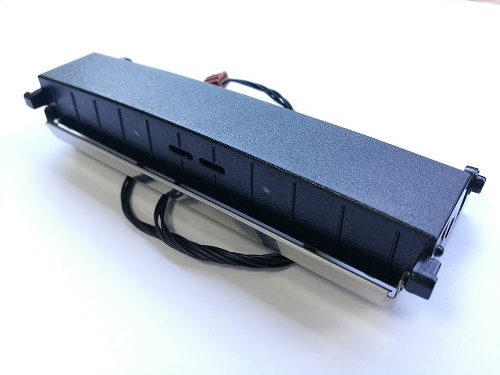
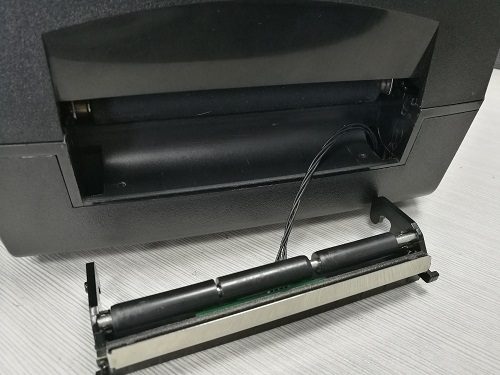
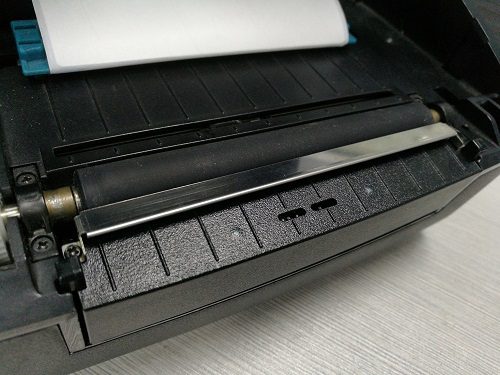
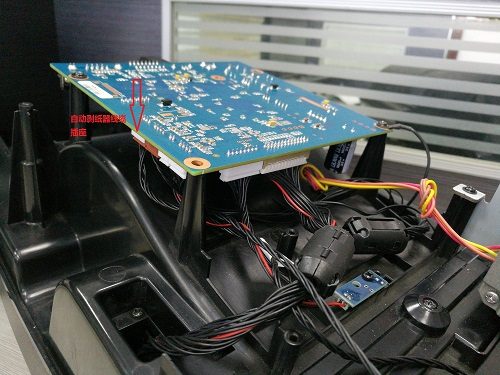
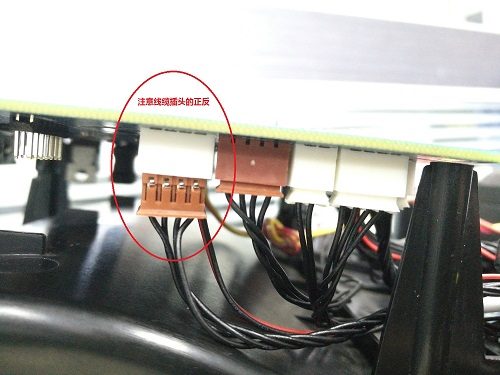
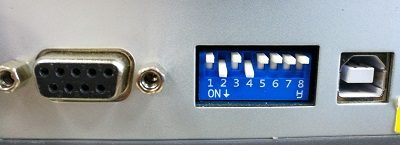
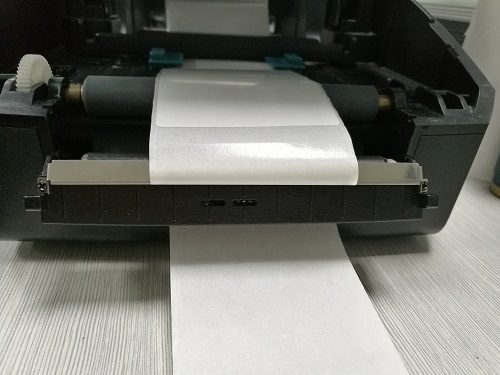
1. For desktop barcode printers, only the X series can be equipped with an automatic peeler (peeler base). 2. Automatic peeler appearance: 3. Installing the automatic peeler: (1) Remove the tear bar base and route the automatic peeler's cable through the square hole at the lower right of the platen roller in the printer's middle housing. (2) Insert the peeler into the printer's middle housing and make sure the peeler cable is not pinched or caught. (3) Loosen the 4 screws on the printer's bottom cover and remove the bottom cover. The mainboard does not need to be removed; on the side you can see that immediately to the left of the brown connector is the PEELER connector, and the peeler cable should be plugged into this connector. After connecting the cable, refit the bottom cover, but do not tighten the four screws yet; tighten them only after testing confirms normal operation. 4. Set the DIP switches: slide switch 2 down to enable back-feed tear-off, and slide switch 4 down to enable the peeler; the printer must be restarted after the settings are complete. 5. Initialize the automatic peeler: Turn on the printer. When the three LEDs are steadily lit, press and hold the "Cancel" button at the top of the printer for about 5 seconds; when the three LEDs flash simultaneously, release the button and press "Cancel" once more. The three LEDs will then be steadily lit, and the operation is complete. 6. Perform paper calibration: When the printer's three LEDs are steadily lit, press and hold the "Feed" button at the bottom of the printer for about 5 seconds; when the printer starts feeding paper, release the button. After the printer finishes feeding, if the indicators are normal and not flashing, paper calibration is complete.
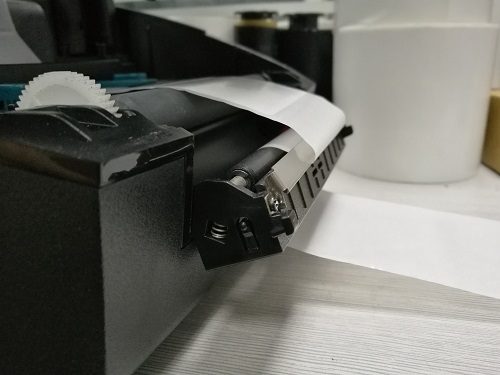
7. Route the label backing paper through the automatic peeler. 8. Perform a print-and-peel test with the automatic peeler, tighten the four fixing screws on the printer's bottom cover, and installation is complete.