Upgrade and Setup Steps for ZMIN Printer Scan-and-Auto-Print
II. Step 2: Press and hold the "Cancel" button closest to the indicators on the printer, turn on the printer power switch, until the "Paper" and "Ribbon" two
indicators flash together, then release the button; the printer now enters normal mode. Note: if you power on directly, the printer enters the
auto-run print template (Form) mode.
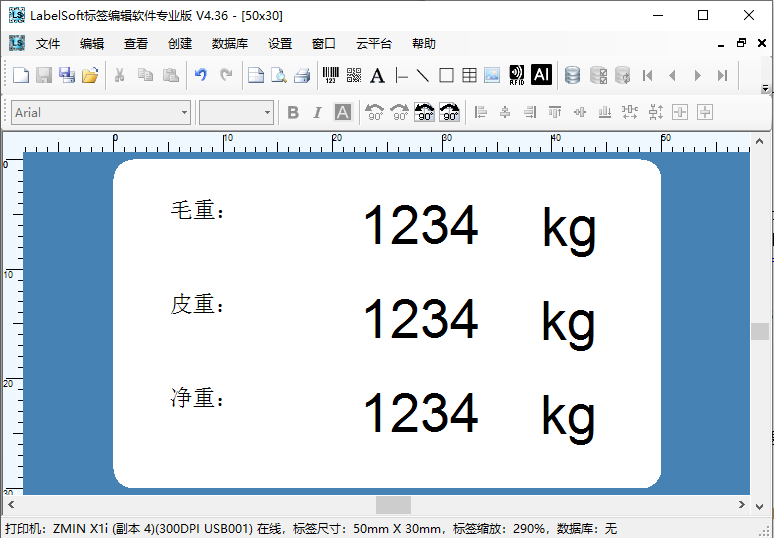
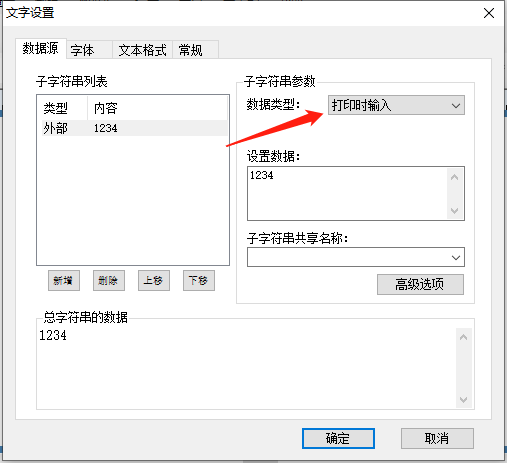
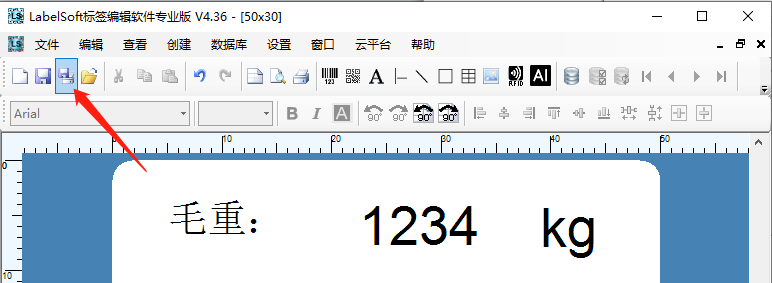
(1) Lay out the print layout according to actual needs, similar to the figure below:
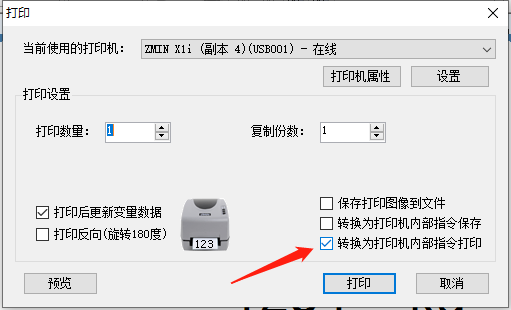
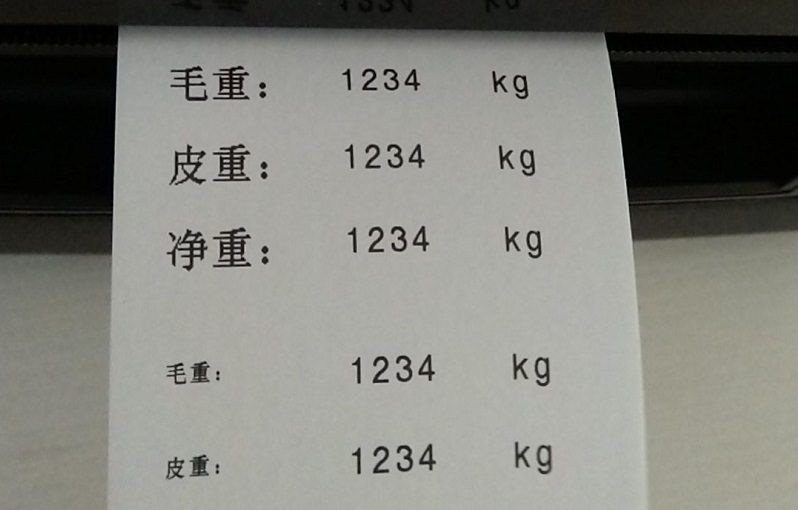
(2) Print to check the result; note that in the print window you should select conversion to the printer's internal command printing.
(5) After everything is set, save the page to the printer: click "Save label as printer Form" and follow the prompts until
the message "ZForm1 saved successfully" appears, then power off and restart the printer.
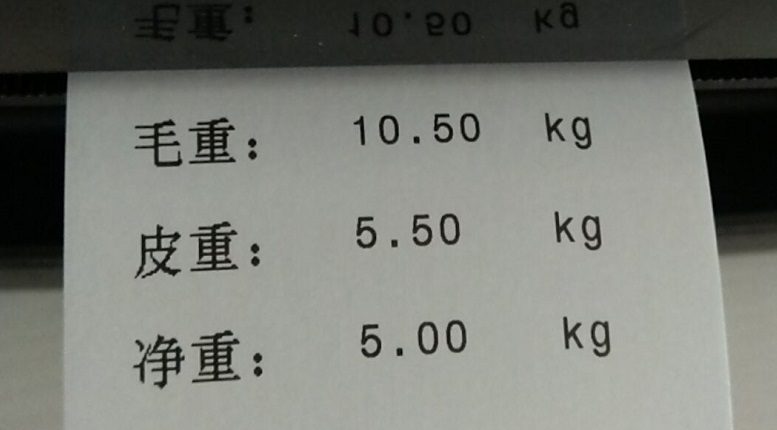
IV. Step 4: After the settings in the previous step, the printer has saved the specified format; simply input the print
content through the communication port, and the label will be printed automatically. Note: if multiple "input at print time" objects are set, data must be entered multiple times.
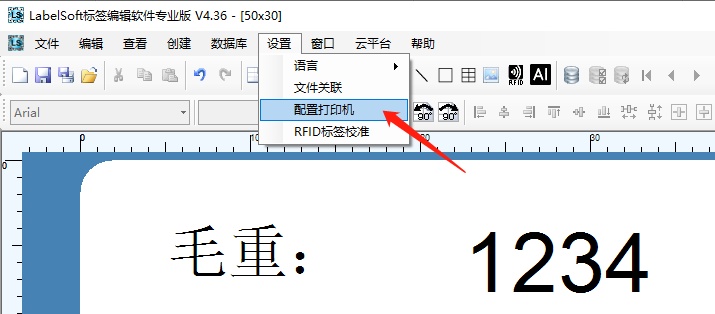
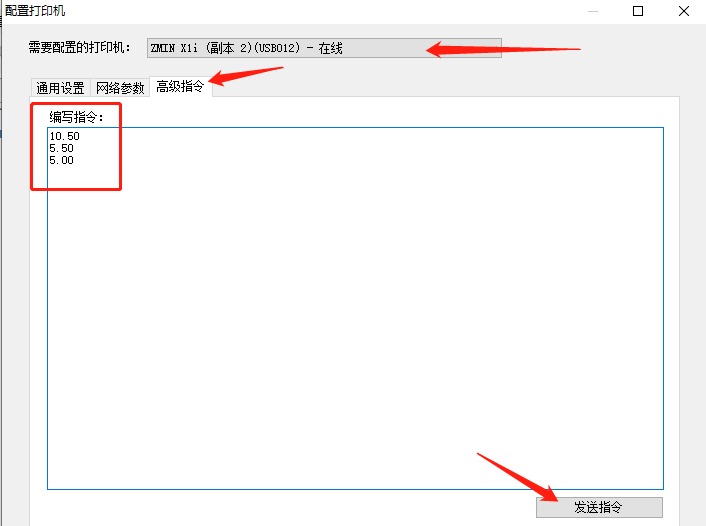
V. If the printer is not yet connected to a scanner or other external input device, you can use the LabelSoft editing software to test the auto-run
Form effect.