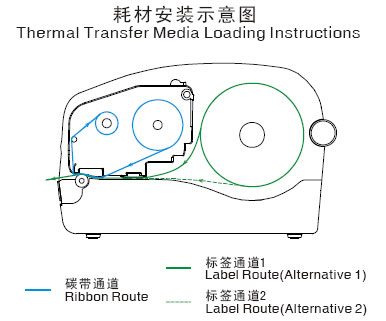
Installation steps:
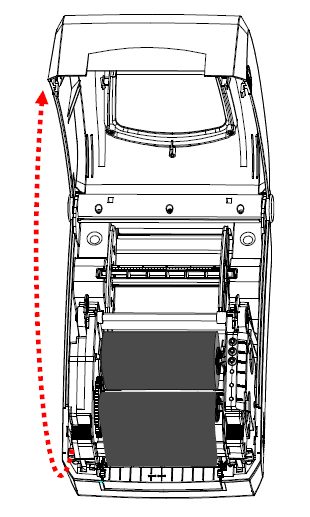
1. Press and hold the top cover latch buttons on both sides and lift open the printer top cover to expose the paper roll compartment;
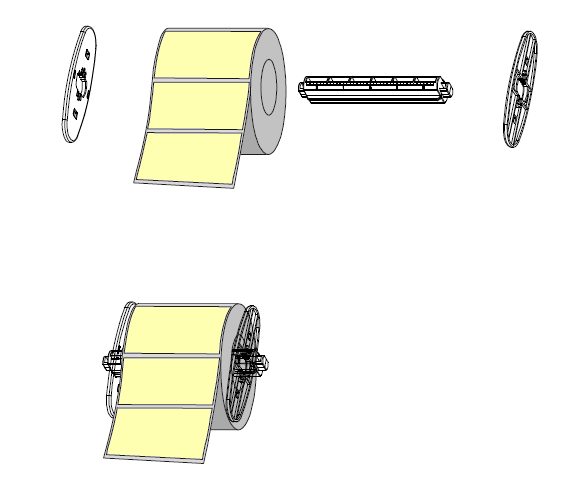
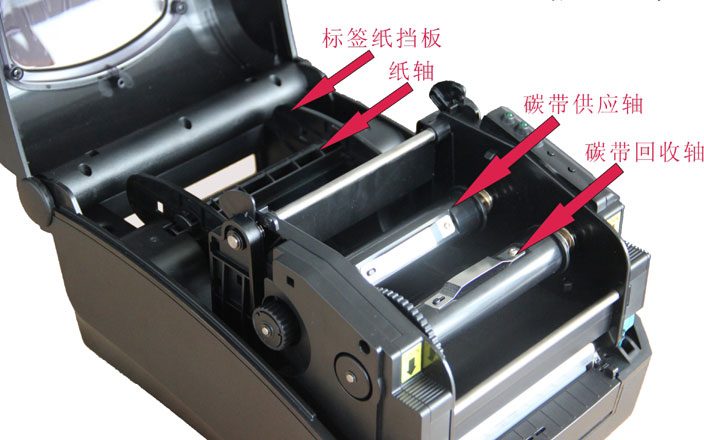
2. Take out the paper roll spindle and put the paper roll onto it (if it is a 3-inch large-core paper roll, fit the paper roll spindle adapter onto the paper roll flanges). Slide the two paper roll flanges onto the spindle from both sides, with the smooth side facing the paper roll;
3. Put the spindle together with the paper roll back into the paper roll compartment, center the paper roll according to the scale marks on the spindle, and press the two flanges against the paper roll;
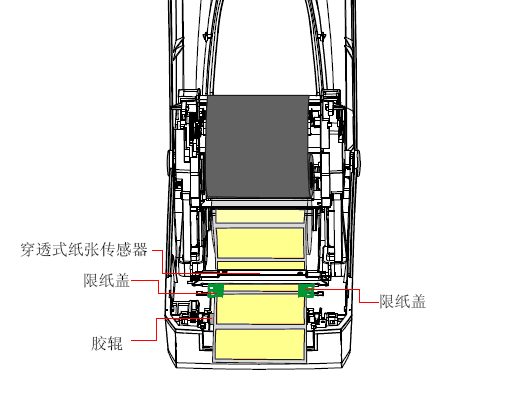
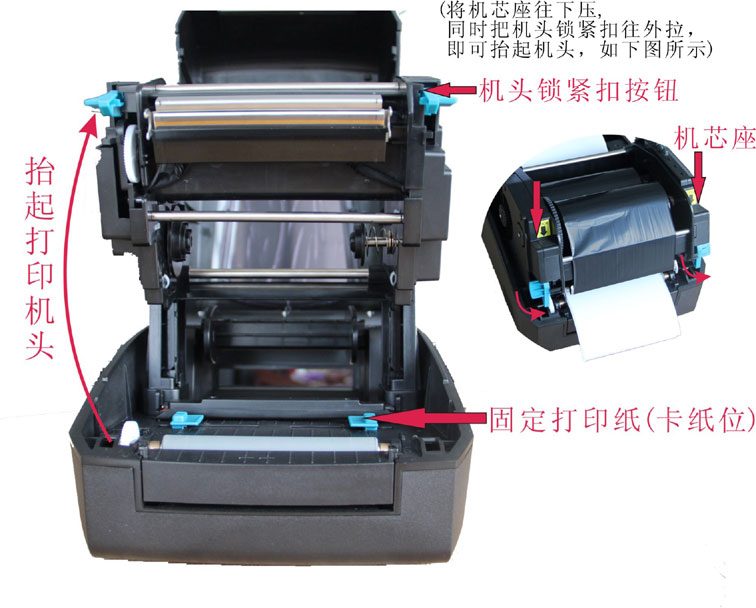
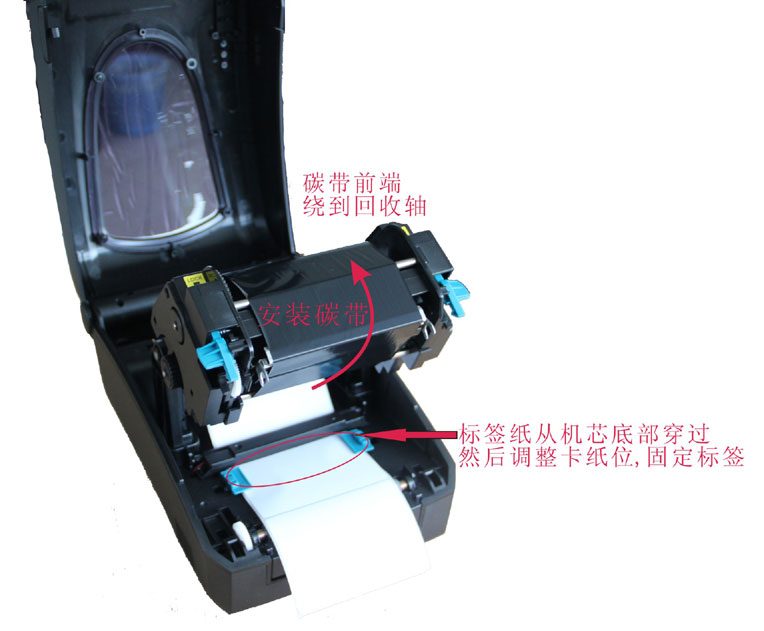
4. Pull the locking buckles on both sides, release and lift the printhead module, pass the label under the paper guide shaft and between the transmissive paper sensor, and press the two paper guide tabs against the label edges without squeezing and deforming the label; let the label pass over the platen roller and place it centered;
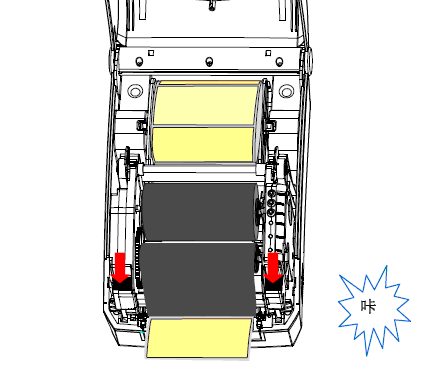
5. Press down the printhead module simultaneously until the locking bar locks; you will hear a "click";
6. Close the top cover and press the "Feed" button; the printer will feed paper and automatically position to the start of the next label.
Actual photos: