Download this document: /uploads/asset/17b965b06c09.pdf
I. Installing RFID labels and ribbon
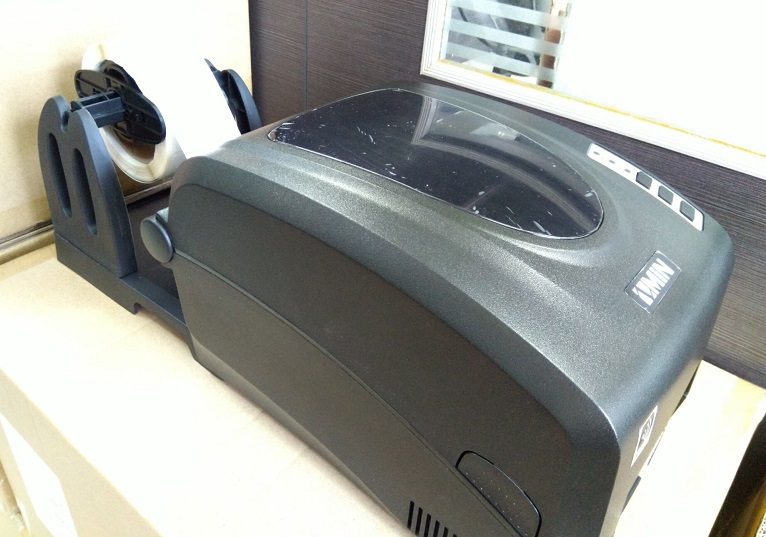
1. Place the RFID labels into the media compartment
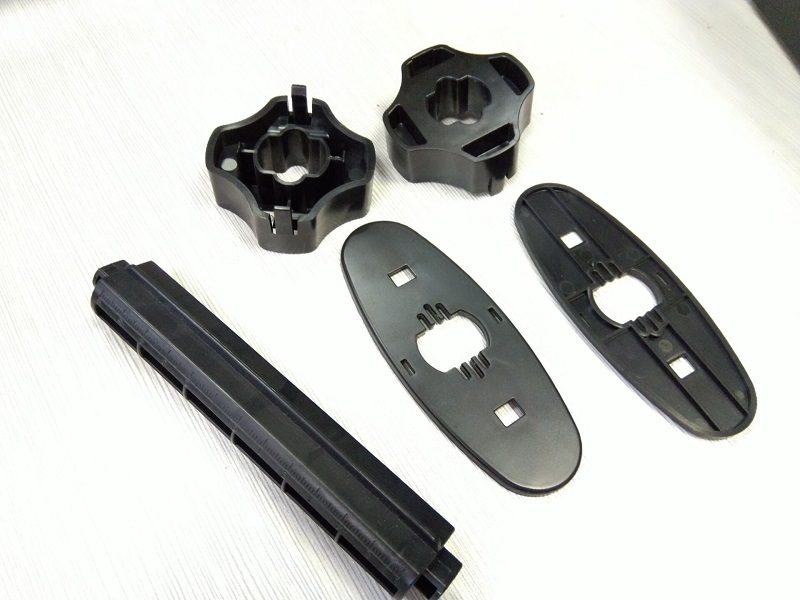
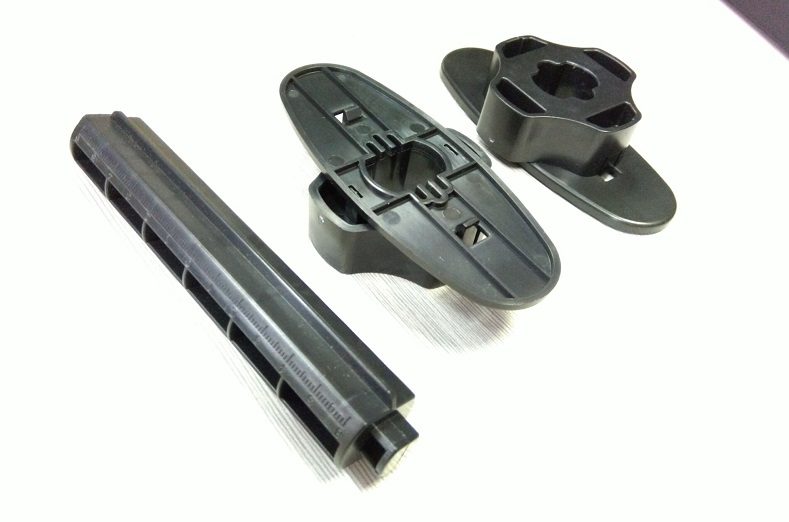
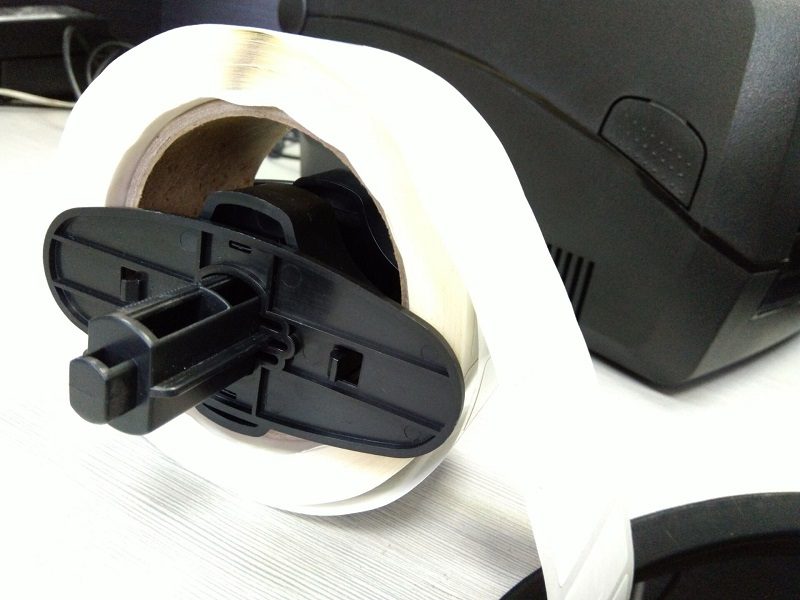
(1) Gather all the label mounting accessories (2) Clip the roll spindle bushing onto the guide plate
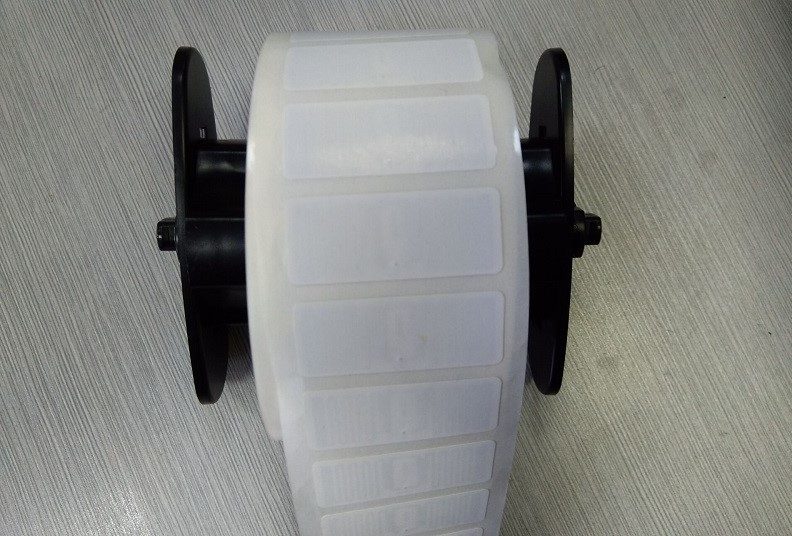
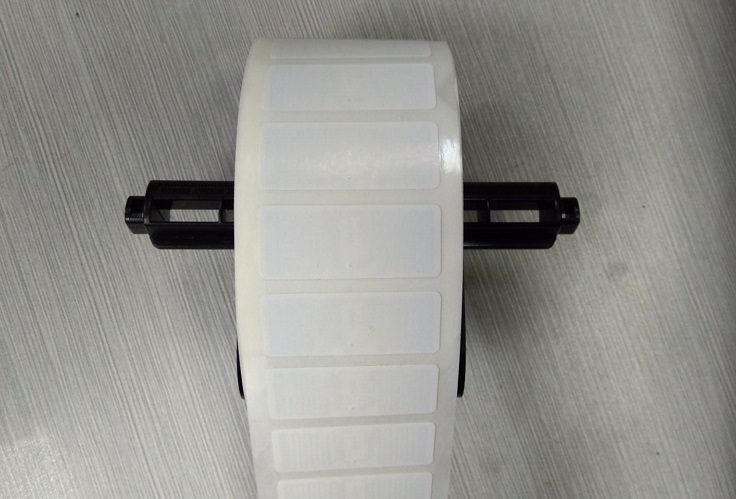
(3) Insert the roll spindle through the label core, with the spindle bushing facing inward (4) Push the guide plates in from both sides so the labels are centered; do not clamp them too tightly
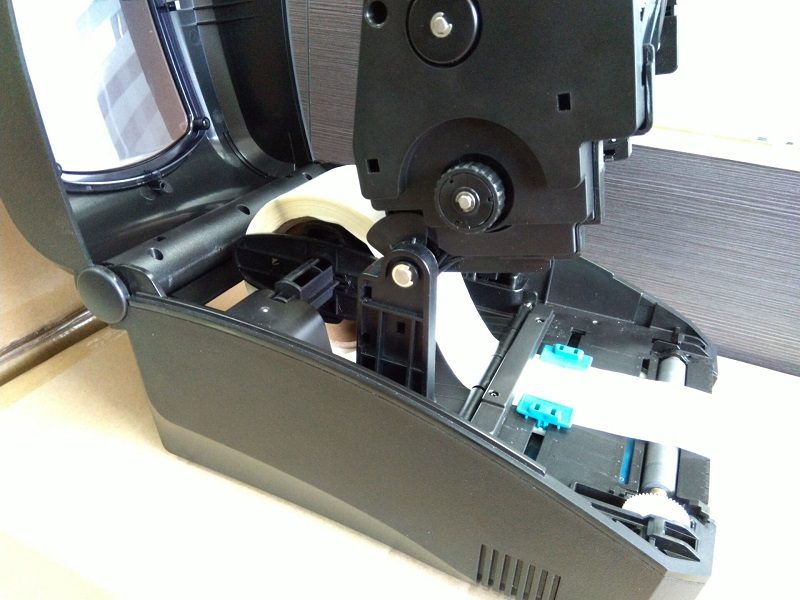
(5) Side view of the roll installation (6) Place the assembled roll into the media compartment
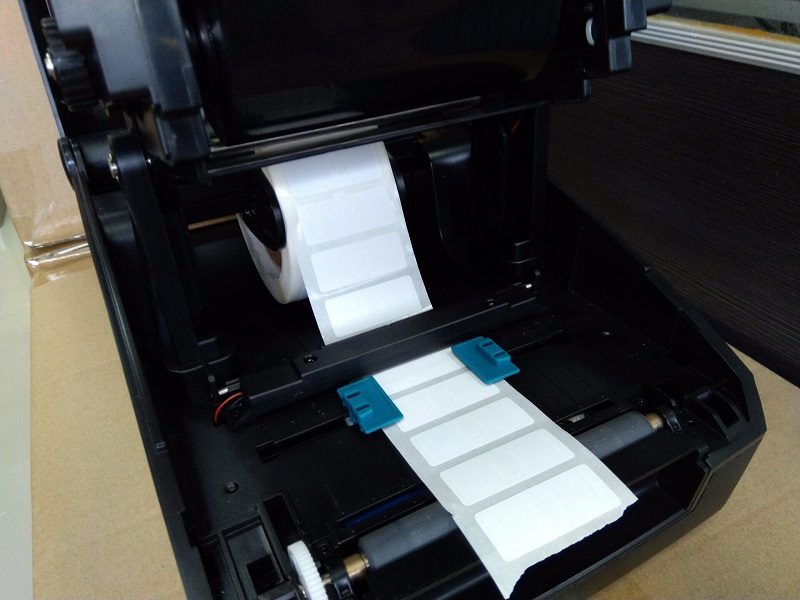
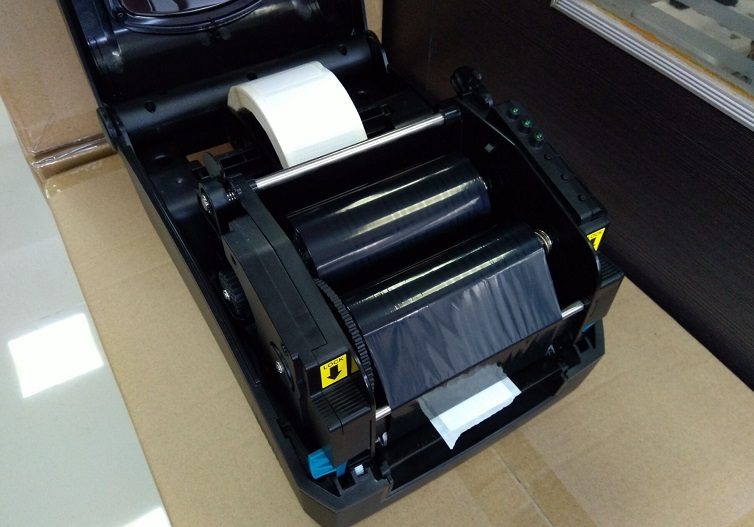
(7) Route the labels through the paper guide shaft and secure them in the blue media guide (8) Close the printhead to complete label installation
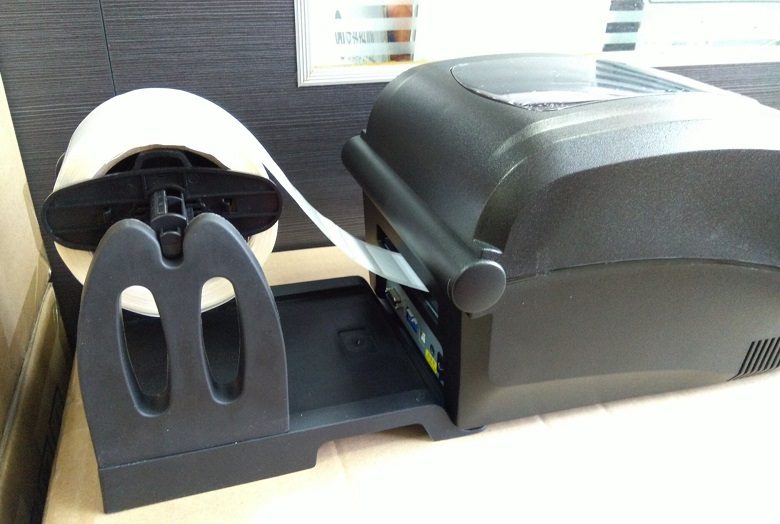
2. Using an external label stand
If the label roll is too large to fit in the printer's media compartment, use an external label stand (optional); the installation is shown in the figure above
II. Connecting the printer to a computer
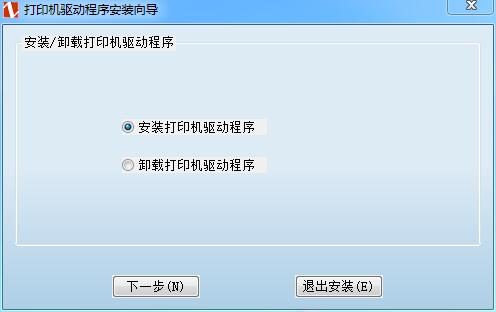
1. Installing the printer driver
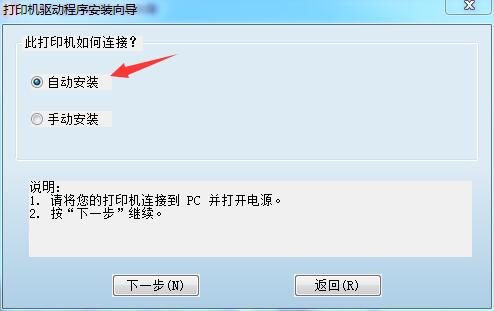
(1) Run the driver installation utility (2) Check automatic installation, then click Next
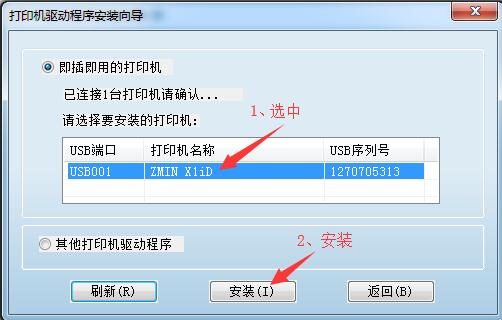
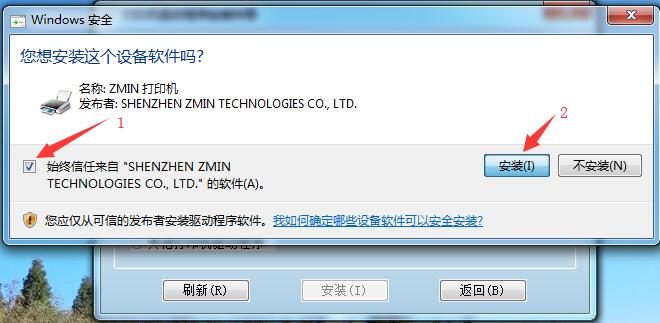
(3) Select the detected printer and click the Install button (4) Check "Always trust" and click Install
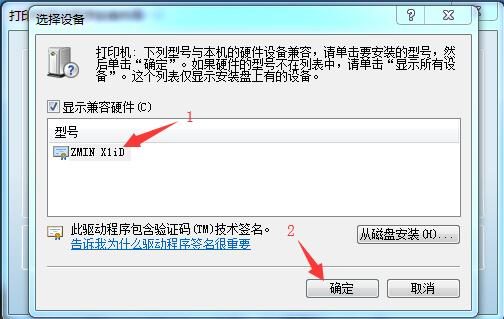
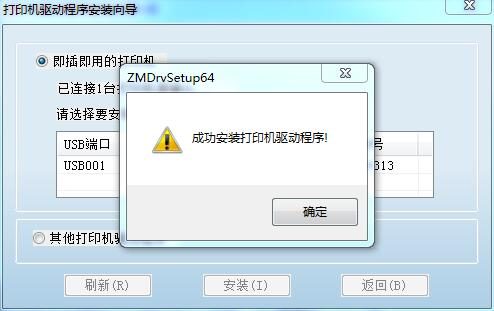
(5) Select the model name and click OK (6) Driver installation is complete
2. Installing the label editing software LabelSoft
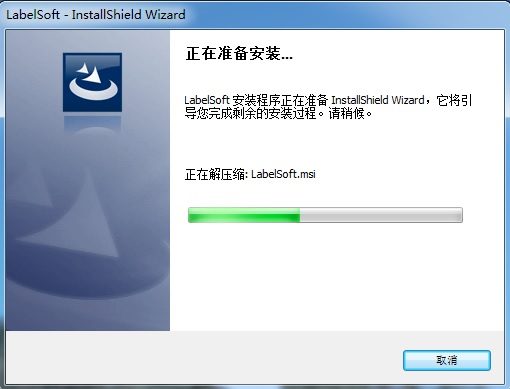
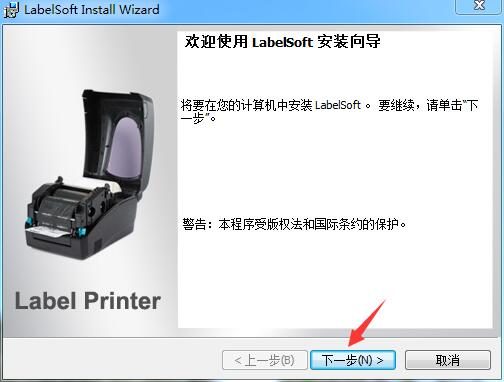
(1) Run the LabelSoft installer (2) Click Next
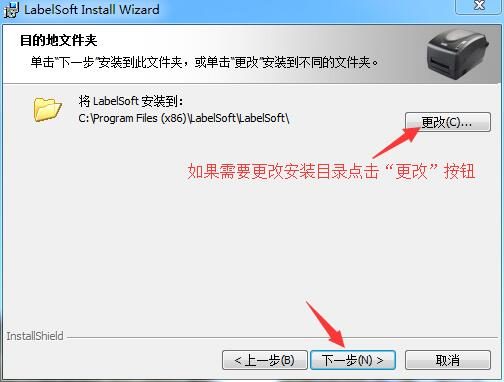
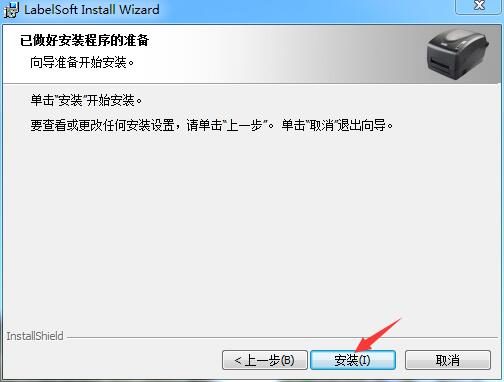
(3) To change the software directory, click the "Change" button (4) Click the "Install" button to start installing LabelSoft
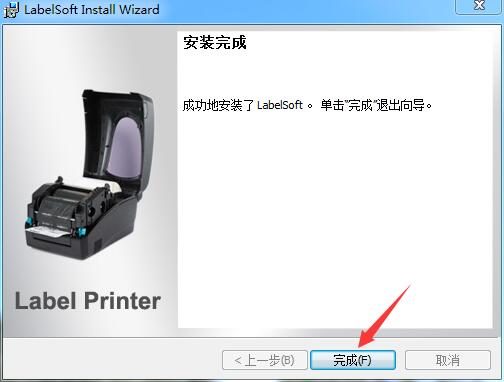
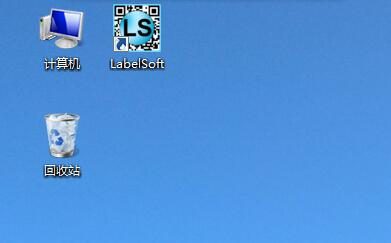
(5) Installation complete (6) A LabelSoft shortcut is created automatically on the desktop
III. Calibrating RFID labels
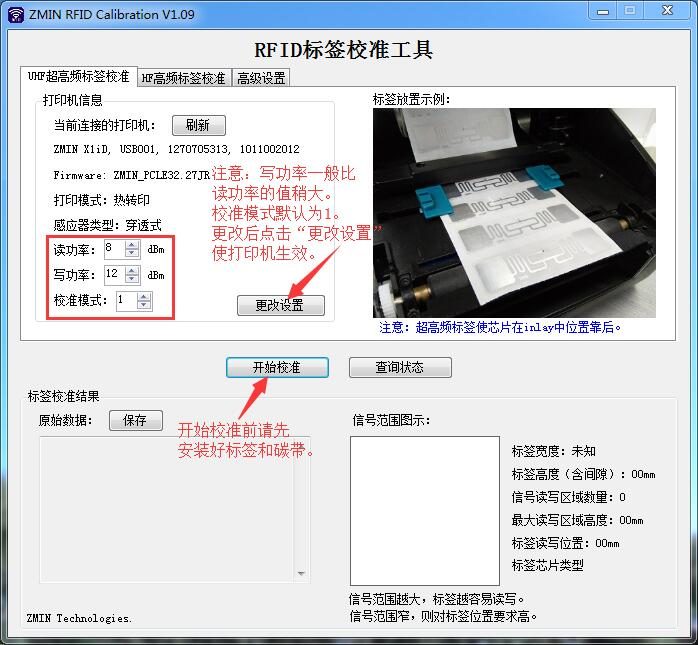
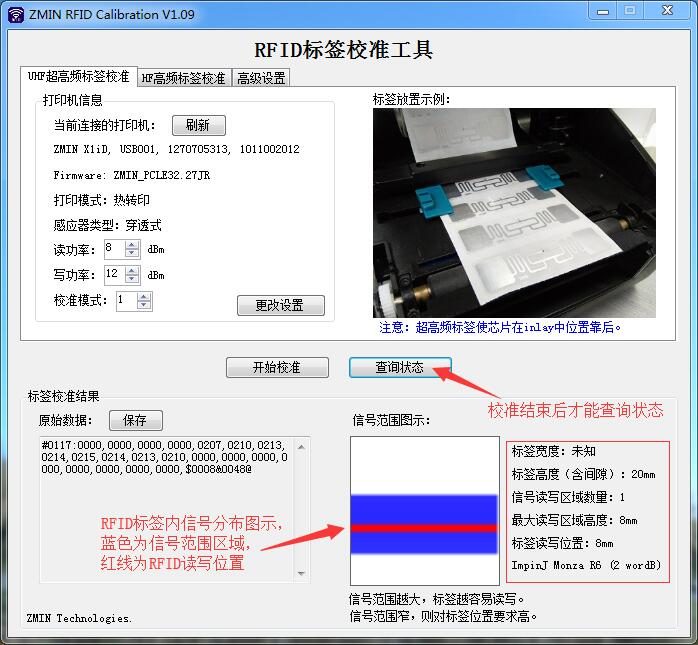
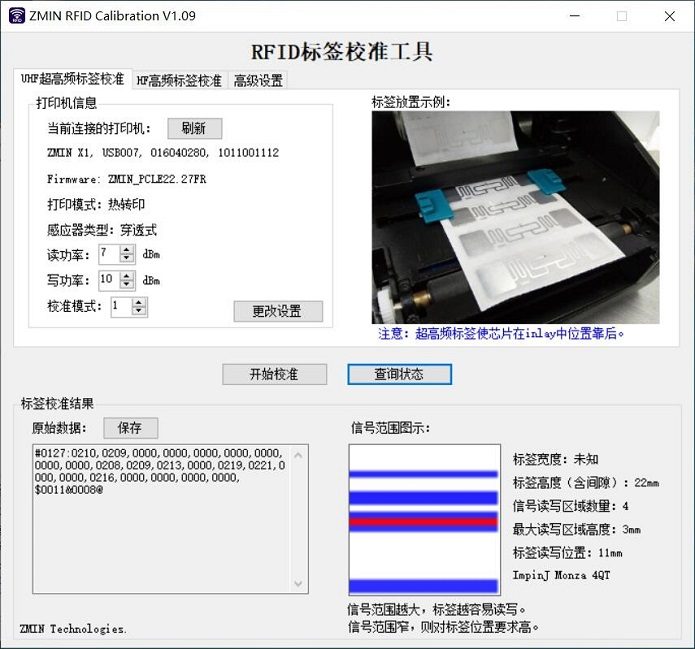
1. Using the visual label calibration tool
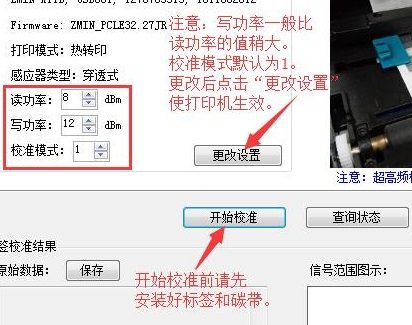
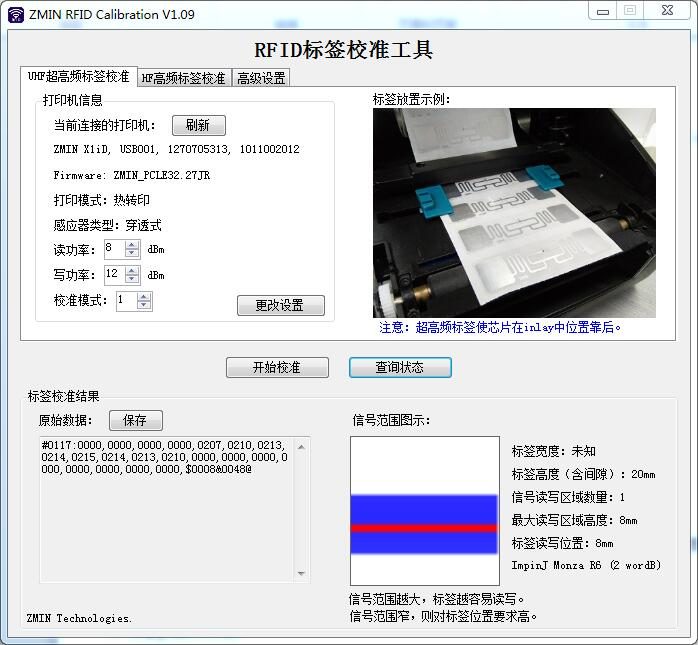
Set the read/write power to control the RFID module and obtain an ideal signal range.
The signal distribution shown in the left figure is relatively ideal.
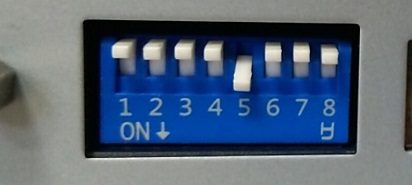
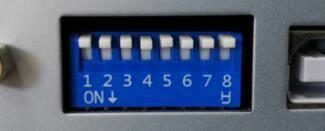
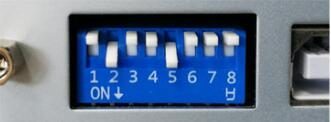
2. Printer DIP switch description
| DIP switch settings: 1. Slide down to turn off the ribbon sensor, direct thermal mode; slide up to enable the ribbon sensor, thermal transfer mode. 2. Slide down to turn off the RFID module, print ordinary labels; slide up to enable the RFID module, print RFID labels. 3. Cutter: keep it in the up position. 4. Peeler: keep it in the up position. 5. Slide down to use the transmissive sensor; slide up to use the reflective sensor. 6. Network setting function: keep it in the up position. 7. Used together with 8 to set the serial port baud rate; consult technical personnel for details. Note: After changing the DIP switches, the printer must be powered off and on again. | DIP switch settings: 1. Slide down to turn off the ribbon sensor, direct thermal mode; slide up to enable the ribbon sensor, thermal transfer mode. 2. Slide down to turn off the RFID module, print ordinary labels; slide up to enable the RFID module, print RFID labels. 3. Cutter: keep it in the up position. 4. Peeler: keep it in the up position. 5. Slide down to use the transmissive sensor; slide up to use the reflective sensor. 6. Network setting function: keep it in the up position. 7. Used together with 8 to set the serial port baud rate; consult technical personnel for details. Note: After changing the DIP switches, the printer must be powered off and on again. |
DIP switch settings: 1. Slide down to turn off the ribbon sensor, direct thermal mode; slide up to enable the ribbon sensor, thermal transfer mode. 2. Slide down to turn off the RFID module, print ordinary labels; slide up to enable the RFID module, print RFID labels. 3. Cutter: keep it in the up position. 4. Peeler: keep it in the up position. 5. Slide down to use the transmissive sensor; slide up to use the reflective sensor. 6. Network setting function: keep it in the up position. 7. Used together with 8 to set the serial port baud rate; consult technical personnel for details. Note: After changing the DIP switches, the printer must be powered off and on again.
DIP switch settings:
1. Slide down to turn off the ribbon sensor, direct thermal mode; slide up to enable the ribbon sensor, thermal transfer mode.
2. Slide down to turn off the RFID module, print ordinary labels; slide up to enable the RFID module, print RFID labels.
3. Cutter: keep it in the up position.
4. Peeler: keep it in the up position.
5. Slide down to use the transmissive sensor; slide up to use the reflective sensor.
6. Network setting function: keep it in the up position.
7. Used together with 8 to set the serial port baud rate; consult technical personnel for details.
Note:
After changing the DIP switches, the printer must be powered off and on again.
(1) Printing RFID labels with the transmissive sensor
(2) Printing RFID labels with the reflective sensor
(3) Printing non-RFID ordinary labels with the transmissive sensor
IV. Layout, editing and printing
1. Measuring label dimensions
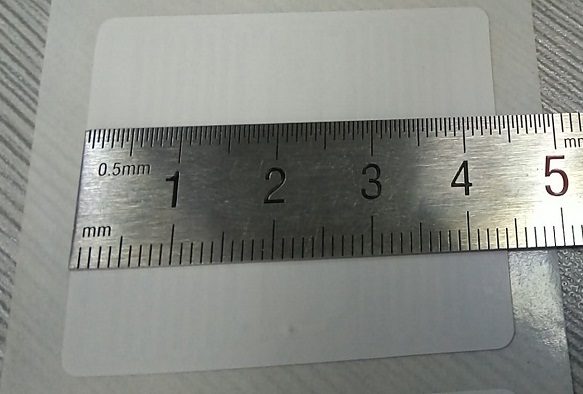
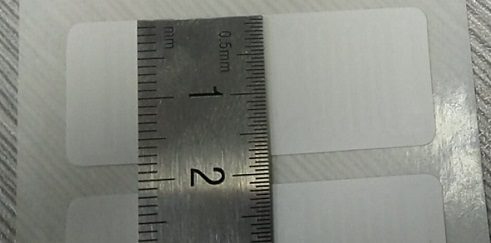
(1) Measure the label width with a ruler: 44mm (2) Height: 18mm
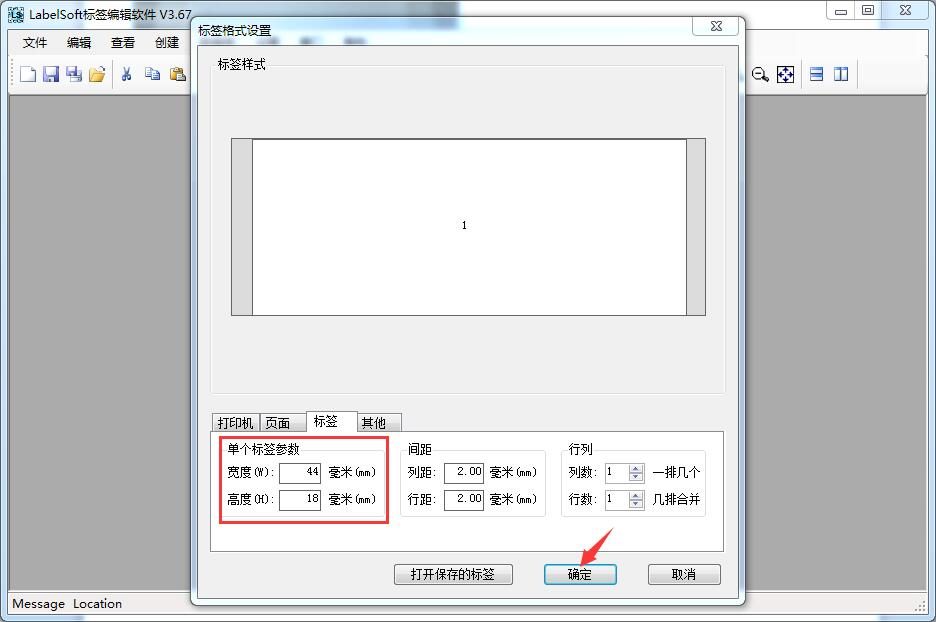
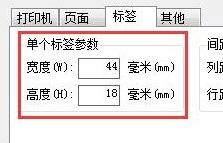
2. Setting the label size in LabelSoft
3. Add the text, barcodes, RFID objects, etc. to be printed
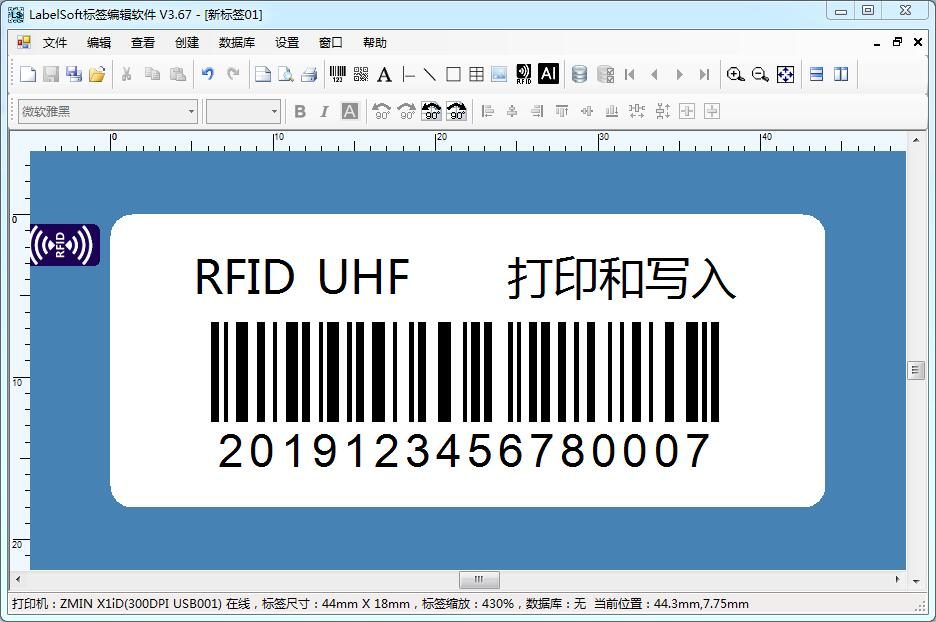
(1) Printing and writing EPC data
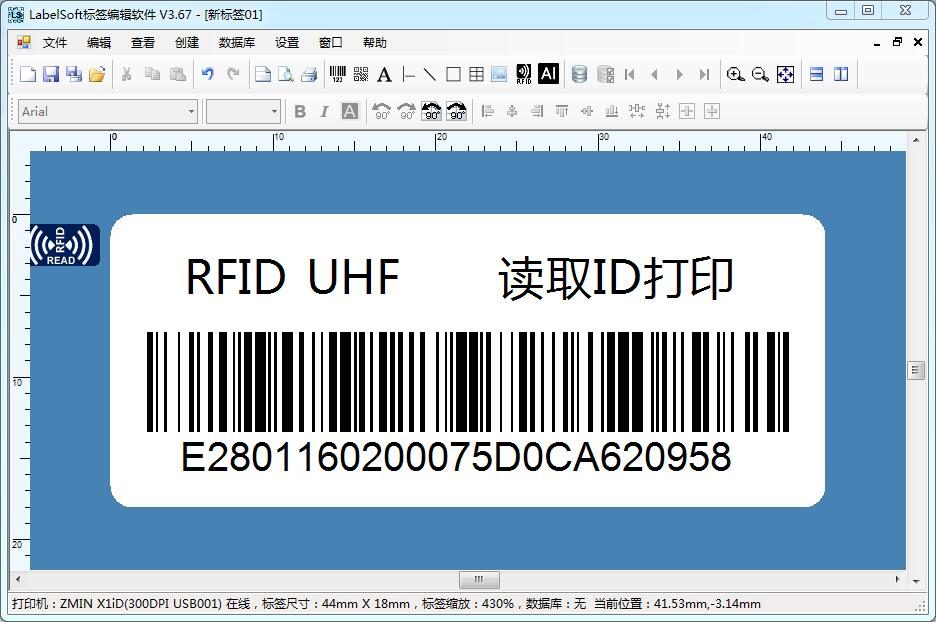
(2) Reading the label ID and printing it as a barcode
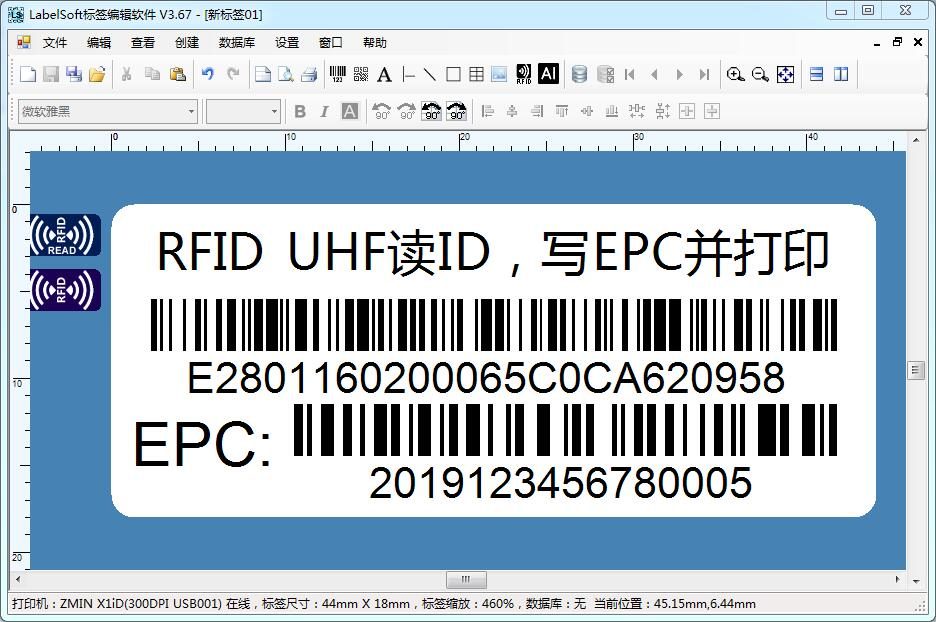
(3) Read ID, write EPC and print
V. Troubleshooting
1. Incorrect calibration signal
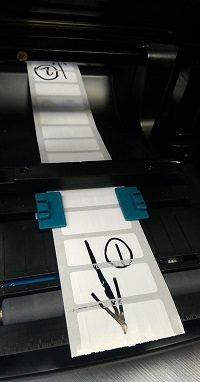
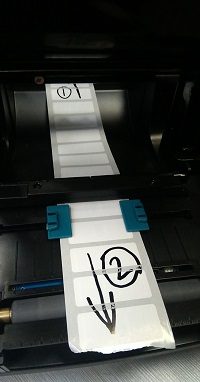
(1) Dispersed signal is not ideal and prone to read/write errors (2) Concentrated signal with a large write area is the ideal signal distribution
If the situation shown in figure (1) occurs, try turning the label around and calibrate again.
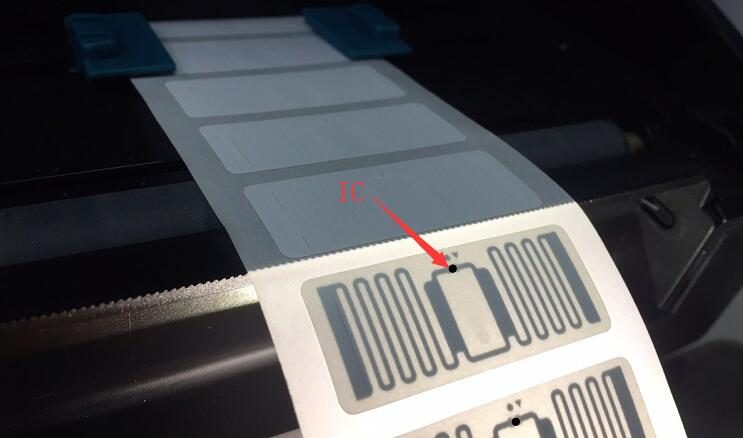
RFID labels have a certain directionality; generally the chip is located in the rear part of the label, where the signal is relatively stable and conducive to stable reading and writing.
2. Frequent errors during printing
Label calibration is normal and the signal distribution is concentrated, but printing and reading/writing often fail.
In this case, first check whether label consistency is normal, i.e., perform RFID calibration 3 to 5 times and see whether the signal distribution after each calibration is similar. If the signal distribution differs greatly each time, the label consistency may be poor; try other labels.
If the signal calibration is basically consistent each time, the read/write failure may be caused by label slippage; check whether the label feeds smoothly. Especially when using an external label stand, the labels must not be clamped too tightly, and the paper path should have no bends or other obstructions. In addition, lowering the print speed increases motor torque; the default is generally 4 inches/second, and at 6 inches/second some labels may jam or slip.
3. Calibration normal but printing fails
Label calibration is normal and the signal distribution is concentrated, but printing and reading/writing fail every time, without a single success.
This is most likely caused by an incorrect write data format. The EPC of an RFID label has capacity and bit-count limits; for example, an EPC capacity of 96bits allows at most 12 bytes of data, and exceeding this causes write errors. Most chips require the minimum write unit to be a byte, while some chips require the minimum write unit to be a double word (4 bytes). It is recommended to ask the label supplier about the chip's capacity and write format limits and write data in the correct format.
4. Abnormal HF calibration
If HF labels repeatedly fail calibration, confirm whether the label's protocol type matches the setting in the software; calibration cannot succeed if the protocol types differ. HF (13.56MHz) supports the 15693, 14443A and NFC/UltraLight protocols. Use the RFID calibration tool to set the printer's current working protocol type, and after setting the correct protocol, perform the RFID label signal calibration.
The above are the standard steps for using a ZMIN RFID printer. If the above information still does not solve your problem, please contact us as follows for technical support:
Weekdays 9:30 to 17:30
QQ: 2307385981
Telephone: 0755-23213336
At other times, please visit our website for more technical support information or send an email to: support@zmin.com.cn
Shenzhen ZMIN Technologies Co., Ltd.
/